How To Calibrate A 3nh Colorimeter
 Here are the calibration methods for 3nh colorimeters, taking the NH310 and TS7036 models as examples3nh.sh.cn:
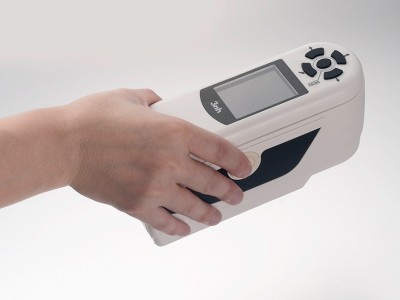
Calibration of NH310 Colorimeter
- Automatic calibration: The NH310is designed to automatically perform white and black calibration during startup. When the instrument’s display enters the measurement interface after power – on, the automatic calibration is already complete, and you can then remove the white – board cover for color difference measurement. If the white – board cover is not properly attached or is loose, the instrument will enter the “Automatic White – board Calibration Failed” interface after power – on, with options to “Retry White – board Calibration” or “Exit White – board Calibration”.
- Manual calibration: Press “Menu” after the colorimeter is turned on and started up to enter the main menu, and select “Black – White Calibration” to enter the black – white calibration interface. Make sure the white – board cover is tightly connected to the instrument, select “White – board Calibration” and press the “Confirm” button. The display interface will prompt you to place the white board properly, and then press the “Confirm” button or the measurement button again to perform white – board calibration. After that, make sure the white – board cover has been removed, select “Black – board Calibration” and press the “Confirm” button. The display interface will prompt you to point the measurement port to the air. At this time, point the colorimeter to the air, and press the “Confirm” button or the measurement button again to perform black – board calibration. It should be noted that when the instrument performs black – board calibration against the air, the surrounding environment should be dark without bright light sources, and there should be no obstructions within 3 meters in the direction where the instrument is facing the air.
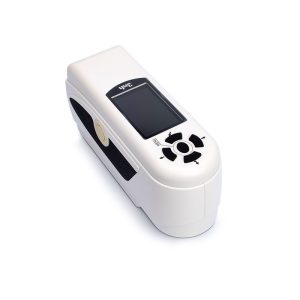
Calibration of TS7036 Spectrophotometric Colorimeter
In the measurement interface, press the main menu button to enter the main menu interface, and in other interfaces, you can enter the main menu by clicking the confirm button or the return button. In the main menu, click “Black – White Calibration” to enter the “Black – White Calibration” interface, which will display whether the current calibration is valid and the remaining valid calibration time. Then click “Next” to continue the operation and enter the reflective black – calibration interface. According to the prompt, attach the measurement port to the black – tube light trap and click the “Measurement” button to perform black – calibration, or click the “Return” button to cancel the calibration. After the reflective black – calibration is completed, it will enter the reflective white – calibration interface. According to the prompt, make sure the measurement white – board number and the measurement port setting are correct, attach the instrument’s measurement port to the white board, and then gently press the “Measurement” button to perform white – calibration. Click the “Return” button to cancel the calibration if needed. After the reflective white – calibration is completed, it will jump back to the calibration interface, displaying the remaining valid calibration time. Perform the corresponding operations according to your needs, and clicking the “Return” button will return to the standard – sample measurement interface.
Learn more
https://www.threenh.com/Color_Knowledge/Colorimeter_vs_Spectrophotometer_Principles_Key_Differences.html